
applying a fresh sterile dressing to a patient’s forearm, on a neutral clinical background, warm and reassuring tone, photorealistic, no visible blood or graphic wound detail, calm and professional atmosphere.”
Coming home after surgery — or caring for a loved one with a slow-healing wound — can feel overwhelming. You’re handed a discharge folder, a box of supplies, and instructions to “change the dressing daily,” and suddenly you’re expected to be a nurse. If you’ve ever stood in your bathroom holding a roll of gauze, unsure whether you’re doing it right, you are not alone.
This guide walks you through everything you need to know about wound dressings and surgical wound care at home — what each dressing type does, how to change one safely, how to tell normal healing from infection, and when it’s time to call a professional. We’ve also included UAE-specific guidance on DHA-licensed home-nursing wound care, since many patients in Dubai, Abu Dhabi, and across the Emirates are recovering with limited hands-on instruction after discharge.
A wound dressing is far more than “a bandage.” Its job is to create the right environment for your body to heal itself, while protecting you from problems along the way. A good dressing does four things:
The old idea that “wounds heal best in open air” has largely been replaced by a better-understood principle: moist wound healing. Skin cells migrate and repair faster across a moist surface than a dry, scabbed one. This is why choosing the right dressing for your specific wound — not just any bandage — genuinely changes how quickly and comfortably you heal.
There isn’t one “best” dressing — the right choice depends on how much fluid your wound is producing (its exudate level), how deep it is, and whether infection is present. Here’s a plain-language breakdown of the main categories.
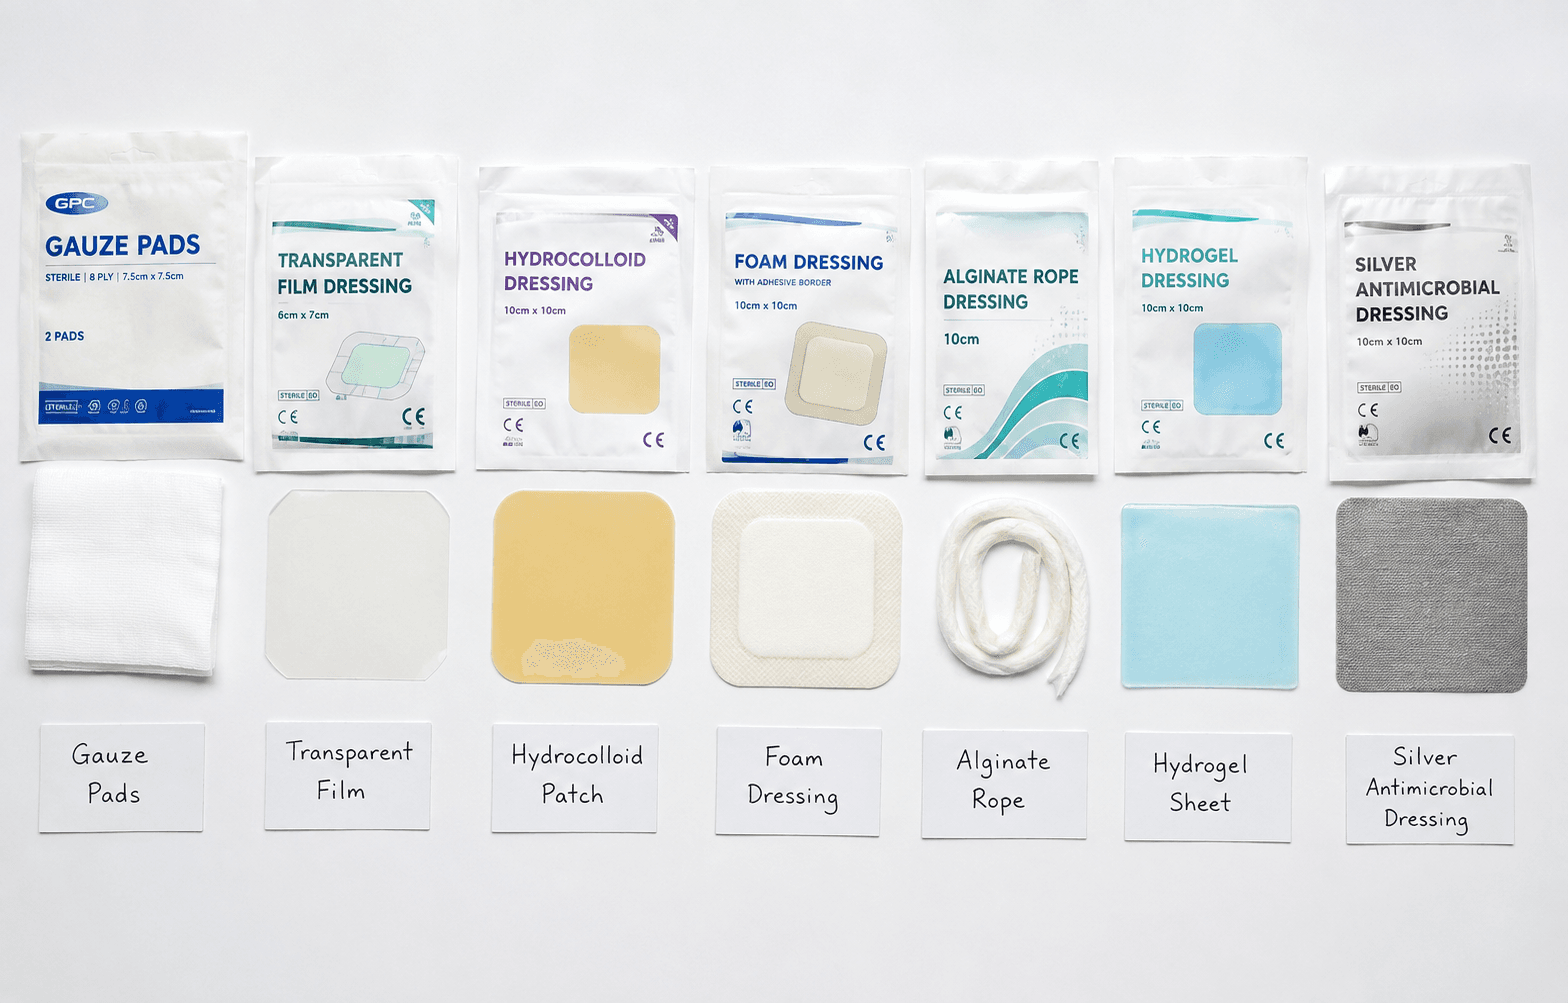
The most familiar dressing type. Plain gauze is absorbent and inexpensive but can stick to the wound bed and cause pain on removal. Non-adherent contact layers (a mesh placed directly on the wound, with gauze on top) solve this by preventing the dressing from bonding to new tissue. Best for: low-to-moderate drainage wounds, securing other dressings in place, and general post-surgical coverage.
Thin, clear, waterproof adhesive sheets. They let you see the wound without removing the dressing and allow showering. Best for: superficial wounds, IV sites, minor abrasions, and wounds with very little or no drainage. Not suitable for wounds with moderate-to-heavy fluid, since film cannot absorb it.
A gel-forming material that turns moist wound fluid into a soft gel, keeping the wound bed hydrated while gently supporting the body’s own tissue clean-up process (autolytic debridement). Best for: light-to-moderate drainage, pressure injuries, and wounds with some dead tissue that needs to soften and clear. Typically left in place for several days.
Soft, cushioned pads that absorb larger volumes of fluid while protecting the area from pressure and friction. Best for: moderate-to-heavy exudate wounds, post-surgical incisions with drainage, and areas needing extra padding.
These sit at opposite ends of the moisture spectrum but are often grouped together because both are used for irregular or deep wounds:
Infused with silver or other antimicrobial agents to help reduce bacterial load. Best for: wounds that are infected or at high risk of infection (e.g., diabetic wounds, chronic ulcers). These should be used judiciously and typically under clinical guidance — not as a default “just in case” choice, since overuse can affect healthy healing tissue.
Use this table as a quick-reference guide. It is not a replacement for professional assessment, but it will help you understand why a nurse or doctor might recommend a particular product.
| Wound Characteristic | Recommended Dressing Type | Typical Change Frequency |
|---|---|---|
| Dry wound / minimal drainage | Hydrogel or transparent film | Every 3–7 days |
| Light drainage | Hydrocolloid or film | Every 3–5 days |
| Moderate drainage | Foam or hydrocolloid | Every 2–3 days |
| Heavy drainage | Foam or alginate | Daily to every 2 days |
| Deep or cavity wound | Alginate packing + secondary foam cover | Daily to every 2 days |
| Infected or high-risk wound | Antimicrobial (silver) dressing | Daily (clinician-guided) |
| Clean post-surgical incision (low drainage) | Non-adherent contact layer + gauze/film | As advised by surgeon (often every 1–3 days) |
A simple way to think about it: dry wounds need moisture added; wet wounds need moisture absorbed. If you’re ever unsure which category your wound falls into, that uncertainty itself is a good reason to have a nurse assess it in person rather than guessing.
Since no single tool can replace a clinical eye, use these three questions to narrow down your options before your next dressing change:
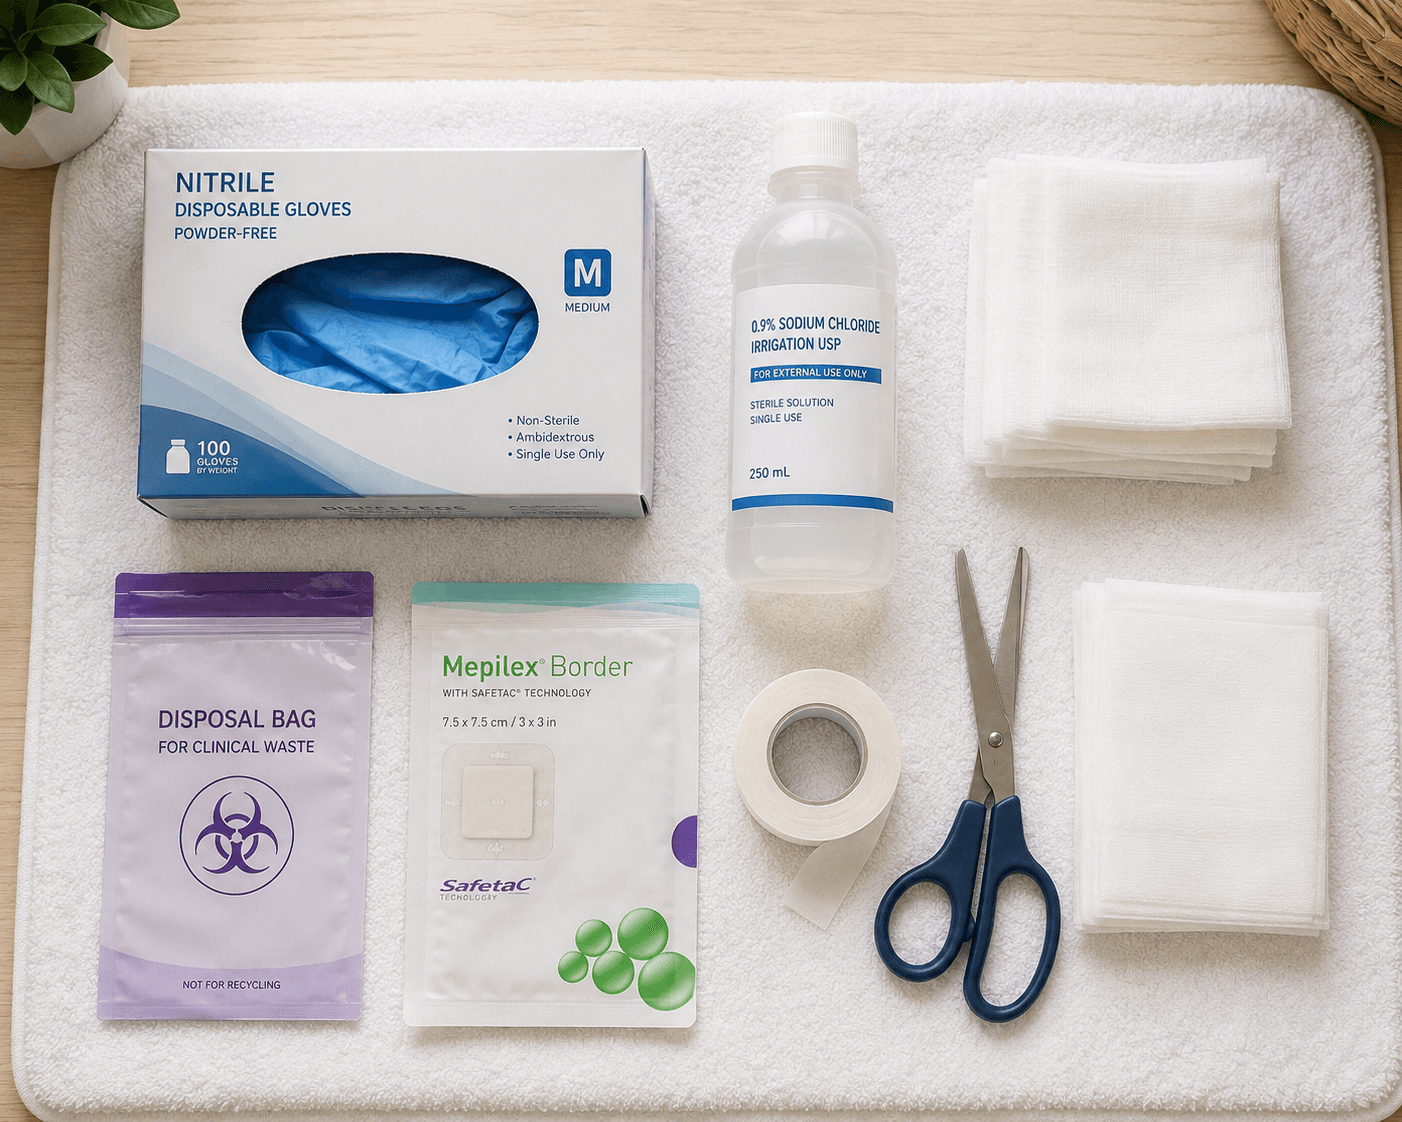
Follow this sequence every time you change a dressing. Going slowly and methodically reduces both pain and infection risk.
Managing pain during changes: If dressing changes are consistently painful, ask your provider about timing changes 30–45 minutes after a prescribed pain reliever, using more saline to loosen adhered dressings, or switching to a less-adherent dressing type such as a silicone-faced foam.
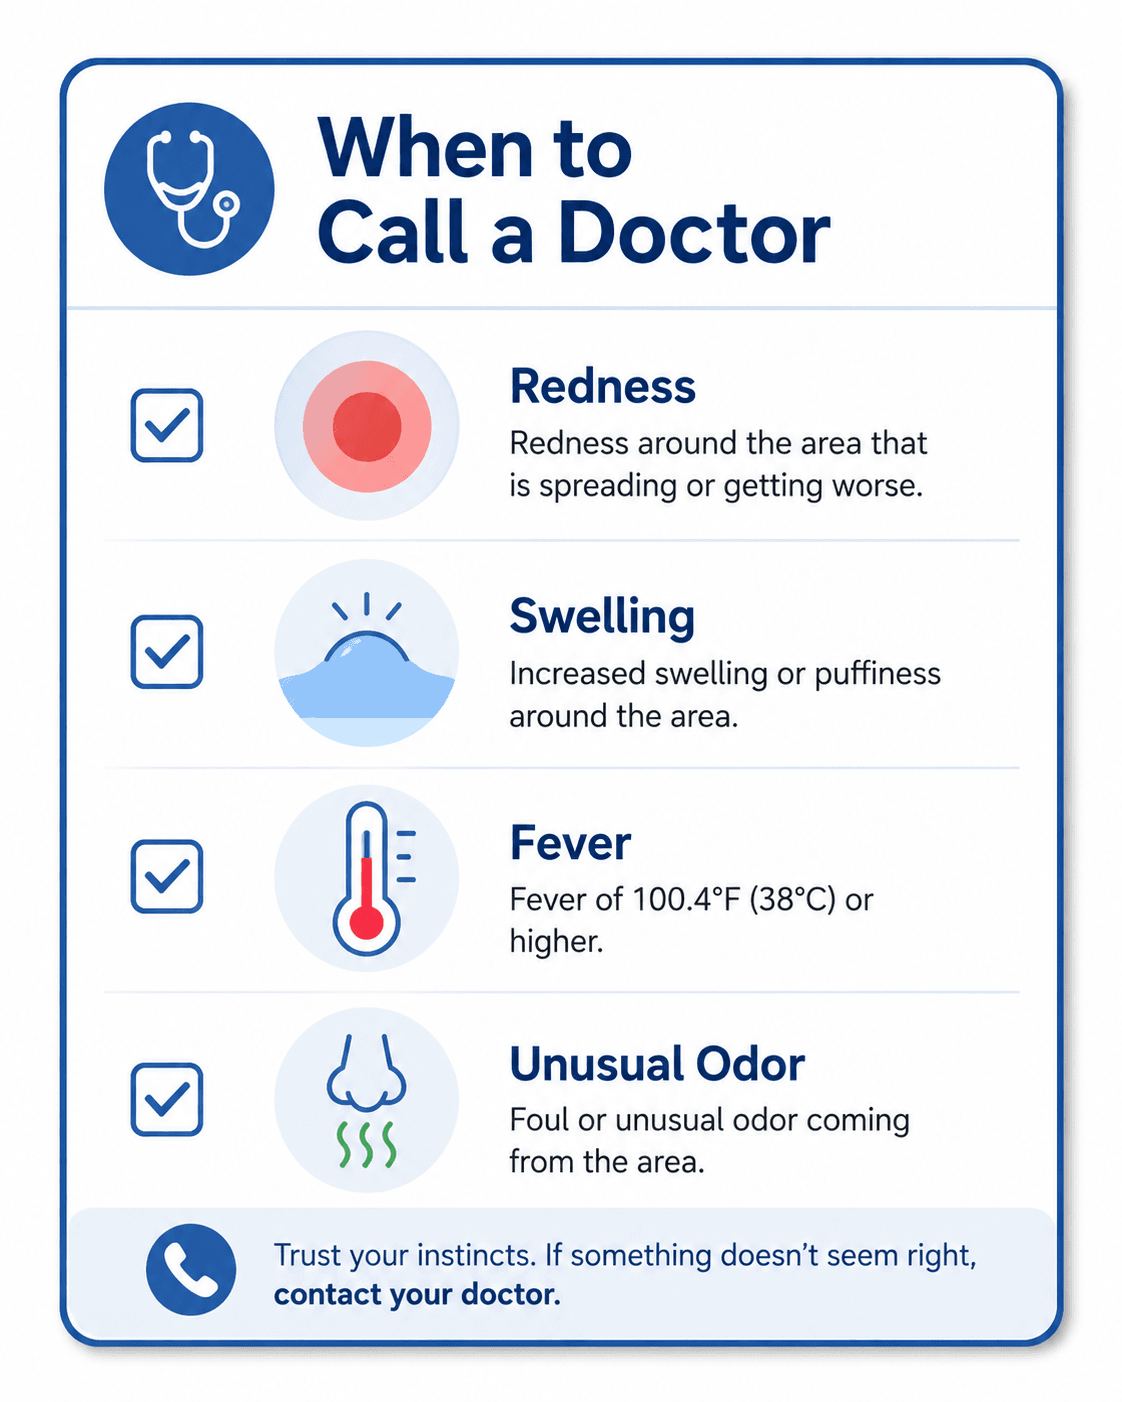
Some redness, mild warmth, and clear-to-slightly-pink drainage are normal in the first few days after surgery or injury. Watch for the following red flags, which suggest something beyond normal healing:
What to do:
When in doubt, it is always safer to have a professional look at the wound than to wait and hope it resolves on its own.

Surgical incisions have their own set of considerations beyond general wound care:
| Timeframe | What’s Normal | What Warrants a Check |
|---|---|---|
| Days 1–3 | Mild redness, swelling, and clear-to-pink drainage; some tenderness | Heavy bleeding, severe pain not controlled by medication |
| Days 4–7 | Redness and swelling begin to reduce; drainage lessens; edges start to knit together | Increasing (not decreasing) redness or swelling, fever |
| Week 2 | Incision mostly closed at the surface; itching is common as nerves regenerate | Wound reopening, pus, spreading redness |
| Weeks 3–4 | Scar tissue forming, pink/red in color; minimal drainage if any | No visible progress, persistent open areas, foul odor |
| Months 2–12 | Scar gradually fades and flattens | Scar becomes raised, painful, or wound never fully closes (may indicate a chronic wound) |
If your wound is not showing clear improvement within two weeks, it’s time to have it professionally reassessed rather than continuing the same self-care routine.

Not every wound needs to be managed entirely at home, and many patients in the UAE choose professional support for at least the first few dressing changes. Here’s what to know:
What a DHA-licensed home wound-care visit typically includes:
Who should consider professional home wound care:
What it typically costs: Home-nursing wound care visits in the UAE vary depending on wound complexity, dressing materials used, and visit frequency, generally ranging from a standard consultation-style visit fee up to higher rates for wounds requiring specialized dressings or more frequent visits. It’s worth requesting a clear cost breakdown before booking.
How to verify a provider: Confirm that the home-nursing service and its nurses are licensed by the Dubai Health Authority (DHA) or the relevant health authority in your emirate before booking. Reputable providers will readily share their license details and the credentials of the nurse assigned to your case.
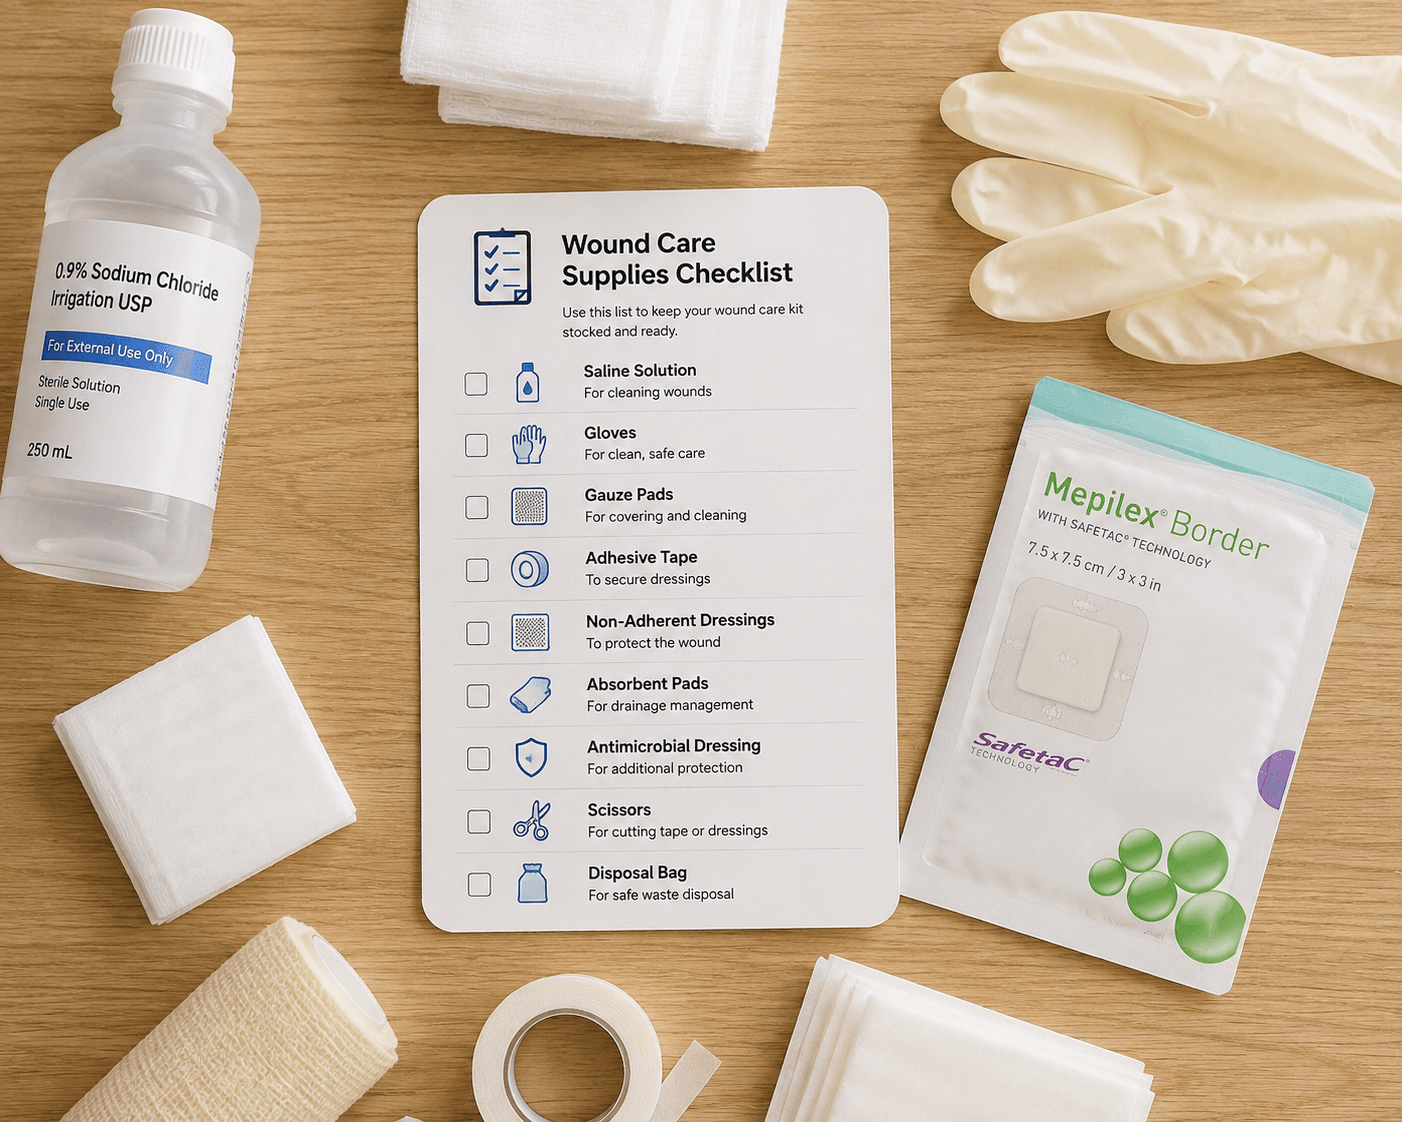
Keep these on hand before you begin any dressing change:
This content was prepared for educational purposes and reviewed by a licensed wound-care clinician. It does not replace personalized medical advice. If you are experiencing a medical emergency, call your local emergency number immediately.